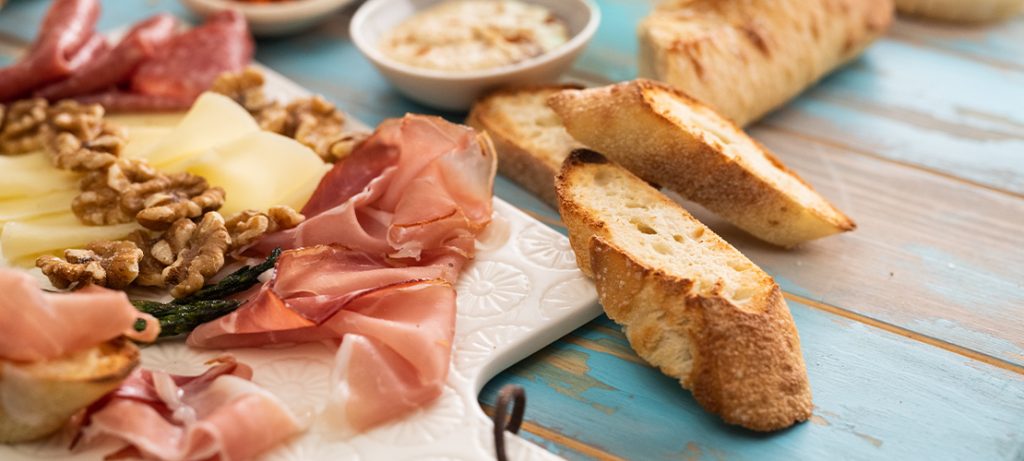
A well-constructed cheese board is a work of art, a sensory delight that can elevate any gathering, from casual picnics to elegant dinner parties. Beyond the tantalizing flavors, the colors, textures, and aromas of various cheeses, the art of creating a cheese board lies in the balance and presentation. In this blog, we will explore the key elements to craft the perfect cheese board that will leave your guests both visually and gastronomically satisfied.
- Selection of Cheeses
The foundation of a great cheese board is, of course, the cheeses. To create a diverse and harmonious experience, aim for a variety of textures, flavors, and types. A typical cheese board might include:
- A soft cheese: Brie, Camembert, or goat cheese.
- A semi-soft cheese: Gouda, Havarti, or a washed-rind cheese.
- A semi-hard cheese: Cheddar, Manchego, or Comté.
- A blue cheese: Roquefort, Stilton, or Gorgonzola.
- A specialty cheese: Something unique, such as a truffle-infused cheese or a local favorite.
Consider your audience’s preferences and dietary restrictions when choosing your cheeses. Generally, aim for three to five cheese varieties to avoid overwhelming your guests.
- Pairings
The key to enhancing the flavors of your cheese selection is thoughtful pairing. Here are some complementary elements to consider:
- Fresh and dried fruits: Grapes, figs, apples, pears, or dried apricots.
- Nuts: Almonds, walnuts, or pecans add a satisfying crunch.
- Bread and crackers: Sliced baguette, artisanal crackers, or breadsticks.
- Condiments: Honey, chutney, fruit preserves, or grainy mustard.
- Cured meats: Prosciutto, salami, or chorizo for a savory touch.
- Olives: A variety of marinated olives can add a tangy note.
The goal is to create a balance of flavors and textures that complement the cheese without overpowering it. Place these pairings strategically around the cheese board.
- Presentation
A visually appealing cheese board is just as important as the flavors it offers. Here are some tips for presentation:
- Choose the right board or platter: A wooden or slate board, a marble slab, or a ceramic platter can provide an elegant backdrop for your cheese selection.
- Arrange cheeses with purpose: Place the cheeses on the board with ample space between them to prevent flavors from mixing. Consider different shapes and sizes for variety.
- Add labels: To guide your guests, you can provide labels for each cheese, or you can simply write the names on the board using chalk or small flags.
- Garnish with fresh herbs: Sprigs of rosemary, thyme, or edible flowers can add a pop of color and a delightful fragrance.
- Artful knife placement: Include cheese knives or small spreading tools for each cheese, so your guests can easily serve themselves.
- Serving Tips
To ensure your cheese board is a hit, remember these practical tips:
- Serve cheese at the right temperature: Different cheeses have different optimal serving temperatures, but generally, they should be served at room temperature. Remove them from the refrigerator 30-60 minutes before serving.
- Provide the right utensils: Alongside the cheese knives, have small tongs or toothpicks for your guests to handle the pairings.
- Give a brief introduction: As the host, consider offering a few words about the cheeses on your board, sharing their origins, flavors, and any interesting stories behind them.
Conclusion
Crafting the perfect cheese board is an art, and it’s all about creating a delightful and balanced experience for your guests. Whether you’re a seasoned host or a novice entertainer, a well-thought-out cheese board can be the centerpiece of a memorable gathering. So, don your creative hat, select your cheeses, pair them perfectly, arrange them beautifully, and savor the joy of sharing this culinary masterpiece with friends and family.


